
Discover how to effectively clean your Viking stove using its self-cleaning feature. This process ensures a safe and efficient way to maintain your appliance’s performance and appearance.
Preparing the Viking Stove for Self-Cleaning
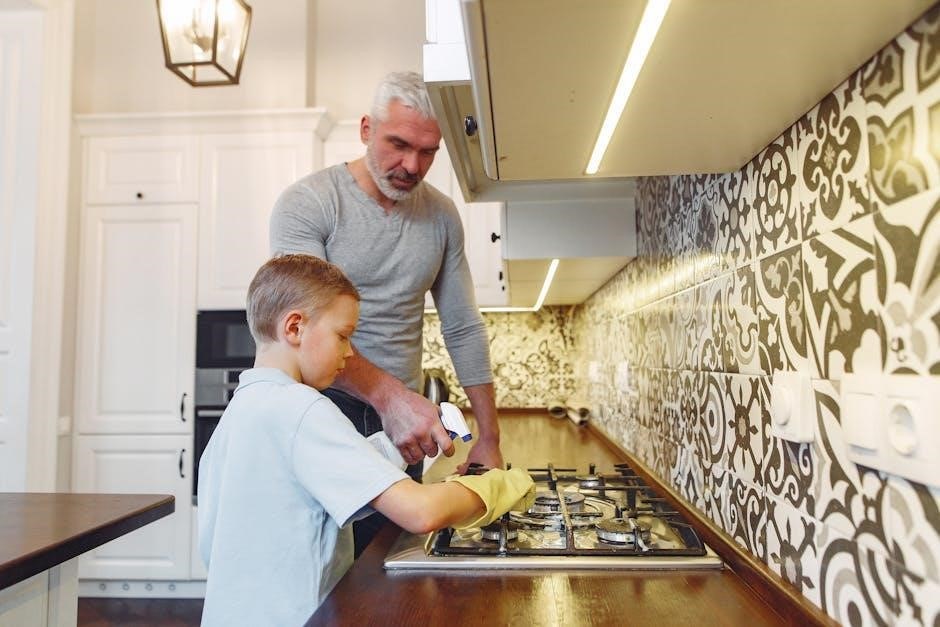
Remove oven racks, utensils, and wipe excessive spillovers. Protect surrounding surfaces from heat and residue to ensure a safe and effective self-cleaning process for your Viking stove.
Removing Oven Racks and Utensils
Before initiating the self-cleaning process, it is essential to remove all oven racks, broiler pans, and utensils from the Viking stove. This prevents damage from high temperatures and ensures thorough cleaning. Gently pull out the racks and place them in a safe location. Remove any additional accessories, such as rack supports or grids, to avoid obstruction during the cycle. This step ensures the self-cleaning process operates efficiently and safely. Always refer to your Viking stove’s Use and Care Manual for specific instructions on removing these components. Properly storing these items prevents accidental damage and keeps your kitchen organized during the cleaning process.
Protecting Surrounding Surfaces
Before starting the self-cleaning process, protect nearby surfaces from potential damage. Place heat-resistant mats or old towels around the stove to catch any debris that may fall. Cover countertops and floors with protective materials like aluminum foil, plastic wrap, or drop cloths to prevent spillover residue from sticking. Ensure the area is well-ventilated to avoid inhaling fumes during the cleaning cycle. Additionally, remove any flammable items from the vicinity to maintain safety. This step ensures that the self-cleaning process is contained and does not affect other parts of your kitchen. Proper preparation helps prevent damage and makes post-cleaning easier. Always prioritize safety and cleanliness when using the self-cleaning feature of your Viking stove.
Wiping Up Excessive Spillovers
Before initiating the self-cleaning process, thoroughly wipe up any excessive spillovers or food residue from the oven floor and walls. Use a damp cloth or paper towels to remove large debris, ensuring no bulky pieces remain that could cause smoke or flare-ups during cleaning. Remove oven racks and utensils, and clean the oven window if necessary. For tough spots, a mild soap solution can be used, but avoid abrasive cleaners to prevent damage. Light layers of food residue can stay, as the self-clean cycle will handle them. Ensure all surfaces are clear and secure before starting the cycle. This step ensures the self-cleaning process is effective and prevents potential damage from excessive residue.
Understanding the Self-Cleaning Process
The Viking stove’s self-cleaning process uses high temperatures to burn food residue, leaving a manageable ash. This feature ensures a safe and efficient cleaning experience for users.
Activating the Self-Clean Mode
To activate the self-clean mode on your Viking stove, ensure the oven door is completely closed. Turn the oven selector knob clockwise to the ‘Self Clean’ mode. Next, set the temperature control knob past the clean setting. The oven will lock automatically once the cycle starts. Depending on the model, the process can take up to 3.5 hours. During this time, the oven reaches high temperatures to burn food residue. After the cycle, allow the oven to cool before opening. Always refer to your Use and Care Manual for specific instructions, as settings may vary by model. Proper activation ensures a safe and effective cleaning process for your Viking stove.
Duration and Temperature Settings
The self-cleaning cycle on a Viking stove typically lasts around 3.5 hours, depending on the model and the level of soil inside the oven. During this process, the oven heats to extremely high temperatures, usually between 800°F and 900°F, to effectively burn food residue. The oven door will automatically lock once the cycle begins to ensure safety and efficiency. It’s important to allow the oven to cool completely after the cycle finishes, as the door will remain locked until it has cooled down sufficiently. Always refer to your Viking stove’s Use and Care Manual for precise temperature settings and duration guidelines, as these can vary slightly by model. Proper ventilation is also recommended to manage any fumes released during the cleaning process.
Post-Cleaning Procedures
After the self-cleaning cycle, allow the stove to cool completely. Remove any ash or residue with a soft brush and wipe surfaces with a damp cloth. Ensure all components are clean and ready for next use.
Cooling Down the Oven
After the self-cleaning cycle, it’s crucial to let the oven cool down completely before unlocking or cleaning it. Turn the knobs to the off position and unplug the stove if necessary. The cooling process typically takes several hours, depending on the oven’s size and the intensity of the cleaning cycle. Avoid opening the door during this time, as the high temperature can cause burns or damage. Once the oven has cooled, you can safely unlock the door and proceed with wiping down the interior. This step ensures all residues are hardened and easier to remove, making the cleaning process more effective and safe.
Unlocking the Oven Door
Once the oven has cooled completely, you can unlock the door to begin the final cleaning steps. Turn the selector knob to the off position and ensure the stove is unplugged if necessary. Locate the door lock mechanism, which may be automatic or manual, depending on your Viking stove model. For automatic locks, the door will unlock once the oven is cool. For manual locks, release the latch gently. Open the door carefully, as it may still be warm. Use oven mitts or gloves to protect your hands. After unlocking, inspect the interior for any remaining food residue and wipe it clean with a damp cloth. This step ensures your oven is safe to use and ready for its next cycle.
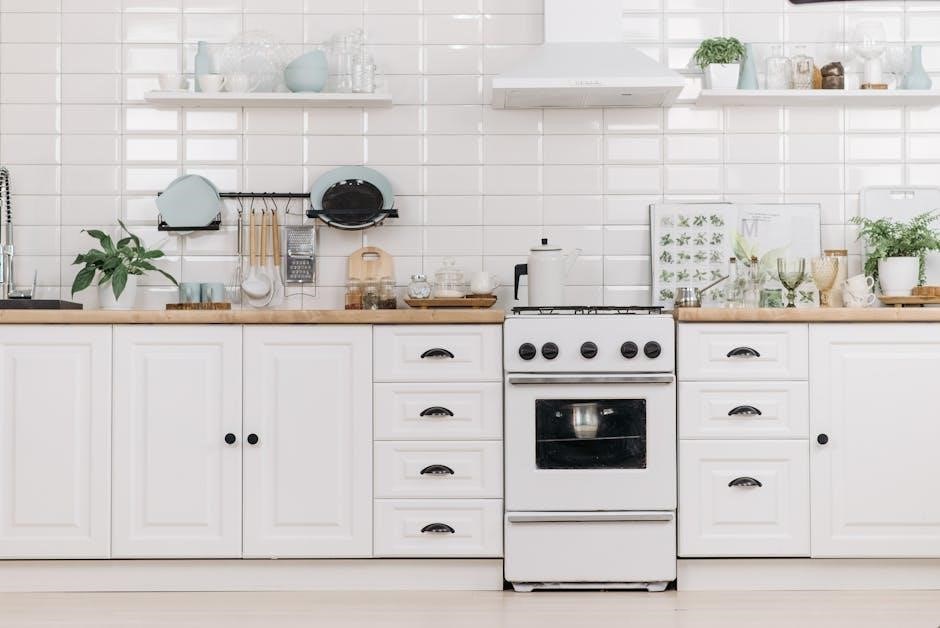
Cleaning the Exterior of the Viking Stove
Clean the exterior with a soft cloth and mild soap solution. Avoid abrasive materials to prevent scratching the finish. Regular cleaning maintains the stove’s appearance and durability.
Wiping the Exterior Surface
Regularly cleaning the exterior of your Viking stove is essential for maintaining its appearance. Start by dampening a soft, lint-free cloth with a mild soap solution. Gently wipe down all exterior surfaces, including the control panel and knobs, to remove grease and fingerprints. Avoid using harsh chemicals, abrasive cleaners, or scrubbers, as they may damage the finish. For tougher stains, a gentle dish soap or a specialized stainless steel cleaner can be used. Always rinse the cloth thoroughly and wipe again to remove any soap residue. For polished or brushed finishes, consider using a cleaner specifically designed for those surfaces. Dry the exterior with a clean, dry cloth to prevent water spots. This process ensures the stove remains pristine and maintains its durability over time.
Cleaning the Knobs and Controls
Cleaning the knobs and controls of your Viking stove requires careful attention to maintain functionality and appearance. Begin by removing the knobs, taking note of their positions for easy reinstallation. Soak them in warm, soapy water for about 15 minutes to loosen grease and grime. Use a soft-bristled brush to gently scrub away any stubborn stains. Rinse thoroughly and dry with a clean towel. For the control panel, dampen a microfiber cloth with a mild soap solution and wipe down the surface, paying attention to crevices where dust and debris accumulate. Avoid harsh chemicals or abrasive materials that could scratch or damage the finish. Regular cleaning ensures smooth operation and keeps the controls looking like new, enhancing both performance and aesthetic appeal over time.
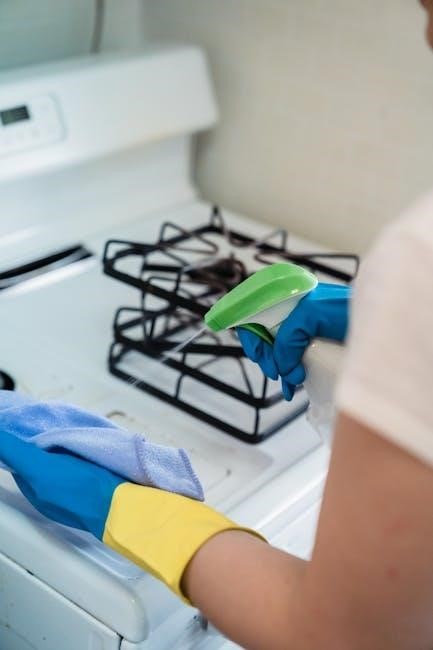
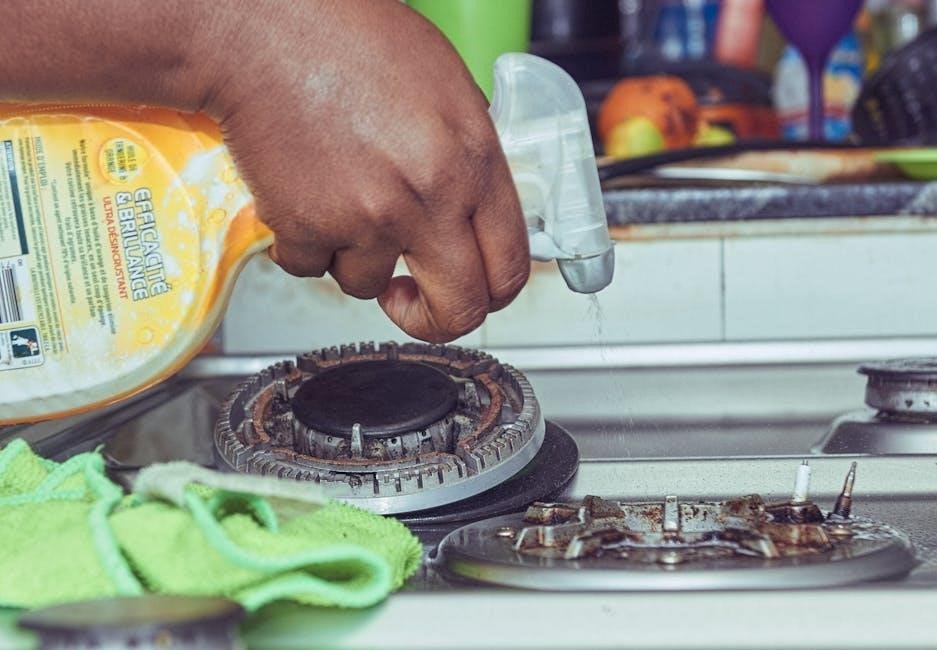
Maintaining the Griddle and Burners
Regular maintenance of the griddle and burners is essential for optimal performance. For the griddle, mix 1 quart of warm water with 1 cup of white vinegar. Dip a non-abrasive pad into the solution and gently scrub the griddle, working in circular motions. Rinse thoroughly with clean water and dry to prevent spotting. For the burners, remove the burner caps and grates, soaking them in warm soapy water. Use a soft-bristled brush to clean burner ports and ensure proper gas flow. After cleaning, allow all components to dry completely before reassembling. Regular maintenance prevents grease buildup and ensures even heating, keeping your Viking stove in top condition and extending its lifespan. Consistency is key to maintaining both functionality and appearance.